Showing posts with label school-age. Show all posts
May 22, 2012
Ticklish Orangutans {E's First Diorama}
If you had told me that I'd be dealing with large projects and grading rubrics as early as first grade, I wouldn't have believed you. But here we are with the THIRD major project of the year.
January 31, 2012
Doodle Valentines (& a great activity book)
January 24, 2012
cardinal in the forest painting
I love art teacher's blogs. Their projects are so darn cute, and now that E is school-aged she's able to do much of it. I found this lovely idea on ARTASTIC! via Pinterest and was thrilled with how it turned out.
December 17, 2011
String & Glue Angel
I found the inspiration for this angel on Family Fun. I'll admit, I was pretty skeptical on the ability of school glue to hold together a bunch of string, but it looked too fun not to try.
What you'll need:
- string
- white school glue
- water
- styrofoam or wooden ball
- gold wire/string
- paint
- scrapbook paper
1. Mix the glue and a little bit of water in a cup. It should look more like cream than milk.
2. Make a cone out of paper and size to fit your wooden ball. I found a template here. Place on top of a water bottle for easier handling.
3. Immerse the string in the cup of glue and wrap carefully around the cone. We ended up using multiple pieces of string. Set out to dry overnight.
4. On a piece of wax paper, arrange glue-strings into a wing shape.
5. Curl and layer smaller cuts of string to fill in the wings.
6. Paint the angel's head as desired.
7. When the wings and body are dry, peel carefully from the wax paper and cone.
8. Hot glue everything together, adding the halo and pillow fluff hair if desired.
Now we have the perfect little topper for our playroom tree!
Some tips: I tried both watered down school glue and mod podge. As you can see the mod podge (right wing) left a lot more glue between the strings. Stick with the school glue for the wings, but if you want to brush your finished body with mod podge, it might help hold the body together better. I also ran some lines of hot glue on the inside of the body to add stability.
My two favorite "angel" books:
November 8, 2011
Colorful Leaf Printing
The leaves are finally changing here in Virginia, and the trees are all golden and russet in the afternoon sunlight. On our walk today we came across a tree with huge yellow leaves and immediately plucked the largest for this craft. I've been just dying to try out leaf printing since I ran across the idea on Pinterest.
We started by squirting different colored acrylic paints onto a baking a sheet. I then smudged them with paper towel into the general shape of the leaf.
E pressed the leaf into the paint and then carefully placed the leaf onto the paper, pressing it some more. We made sure we placed the leaf vein-side down.
She peeled back the leaf to reveal a gorgeous fall print. We made two prints, but there was still plenty of paint left on the pan. Kleas used one pan for an entire class of preschoolers, but since I didn't have other (awake) children in the house, I printed off this tree template for E to paint.
Although its meant as a wedding keepsake (get your guests to ink their fingerprints onto either side of the tree), I added the word "thankful" and let E fill it in with her own sweet prints.
I truly am thankful for smudgy prints and the dear little fingers they belong to!
Autumn Walk
by Kelly Asbury
I mention this book every year, but that's because I love it. Ignore the average illustrations and instead listen to the rhythmical, stimulating language throughout the book. After reading this to your kids, you're both going to want to romp through fallen leaves, sip hot apple cider, and glory in all that autumn offers.
Red Leaf, Yellow Leaf
by Lois Ehlert
A classic Ehlert, this book follows the life of a sugar maple from the viewpoint of a young child. Gorgeous watercolor collages fill the pages while the narration provides interesting information about the beginnings of the maple tree.
Red Leaf, Yellow Leaf
October 31, 2011
It's Halloween!
It's Halloween and my girls are all ready to go trick-or treating tonight!
The Book That Eats People
by John Perry
If you're looking for a "scary" book for early elementary schoolers, this is for you. It's funny, goofy, and slightly disturbing. From the title page, the book warns you that in your hands is a book that EATS PEOPLE. It chronicles the history of the book and all the children and adults it has eaten, the steps taken to try to keep people safe from it's hungry jaws, and the final warning to WATCH OUT - because this book EATS PEOPLE! The illustrations are great and silly enough to keep kids from taking the story too seriously. While I wouldn't read it to my 3 year old, my 6 year old thought it was hilarious. I think boys (and dads) in particular will enjoy the slightly dark humor throughout.
This year they are coordinating in their Wizard of Oz costumes. I adapted an old dress into A's "Glinda Gown," but E's grandma made her Dorothy dress from scratch with a matching dress for her doll.
I couldn't let these cuties have all the fun!
They'll be accompanied tonight by the Wicked Witch!
For last minute Halloween activities check out my Halloween Pinterest Board.
September 10, 2010
Start of School: Lunch Notes
Today will mark completion of the first week of school! E has adjusted amazingly well to kindergarten and even insisted on being dropped off at the curb this morning. *sniff, sniff* A also handled drop off much better this morning. Now it's just up to me to deal with my own separation anxiety!
Toward this end, I've made a point to include little notes in the girls' lunches. A can't read yet, of course, so I simply printed off a recent picture of us with a universally understood message: ♥. (Look! I'm in the picture! How have you done with the challenge?)
For E's lunch, I found these adorable notes over at Cap Creations. She has three sheets with encouraging messages, jokes, and Bible verses. I printed them off on cardstock, cut them up, and stuck the stack in my kitchen drawer. Every morning, I simply grab one and toss it in!
I feel an eensy bit better knowing that my girls have a token of my love in the middle of their day. (Oh, dear. I've become one of those moms, haven't I? :)
Lilly's Purple Plastic Purse
by Kevin Henkes

Another Henkes? What can I say. The man's a kids lit genius. In this story, beloved character Lilly adores her teacher. She sings his praises and wants to be a teacher like him when she grows up. But when Lilly brings her new purple plastic purse to school and interrupts the class to show it off, her teacher takes it away for the day. Lilly is so angry, she writes a mean note for her teacher to find. What she doesn't know is that her teacher left her a note as well...
This is an excellent story to teach remorse, repentance, and forgiveness to young school-aged children. Your kids are sure to empathize with passionate Lilly and feel her pain when she regrets her rash choices. This empathy keeps the story from becoming preachy, and the happy ending teaches a lesson of redemption that I love.
I'm linking up to:
- Feed Me Books Friday @ Little Sprout Books
Toward this end, I've made a point to include little notes in the girls' lunches. A can't read yet, of course, so I simply printed off a recent picture of us with a universally understood message: ♥. (Look! I'm in the picture! How have you done with the challenge?)
For E's lunch, I found these adorable notes over at Cap Creations. She has three sheets with encouraging messages, jokes, and Bible verses. I printed them off on cardstock, cut them up, and stuck the stack in my kitchen drawer. Every morning, I simply grab one and toss it in!
I feel an eensy bit better knowing that my girls have a token of my love in the middle of their day. (Oh, dear. I've become one of those moms, haven't I? :)
Lilly's Purple Plastic Purse
This is an excellent story to teach remorse, repentance, and forgiveness to young school-aged children. Your kids are sure to empathize with passionate Lilly and feel her pain when she regrets her rash choices. This empathy keeps the story from becoming preachy, and the happy ending teaches a lesson of redemption that I love.
I'm linking up to:
- Feed Me Books Friday @ Little Sprout Books
August 18, 2010
More Secret Coding Fun
Secret Agent Mom here, with another mission: teach Secret Agent E the basics in cryptology! First up: the Winding Code. You'll need a pencil, pen, tape, and a strip of paper.
Tape the end of the paper at a slant onto the pencil. Wind the paper around the pencil, then write your message across the paper.
Unravel and give to your partner.
Yep. It looks like gibberish. That is, until you wrap it back around a pencil!
Now it's all clear! "You're the best!"
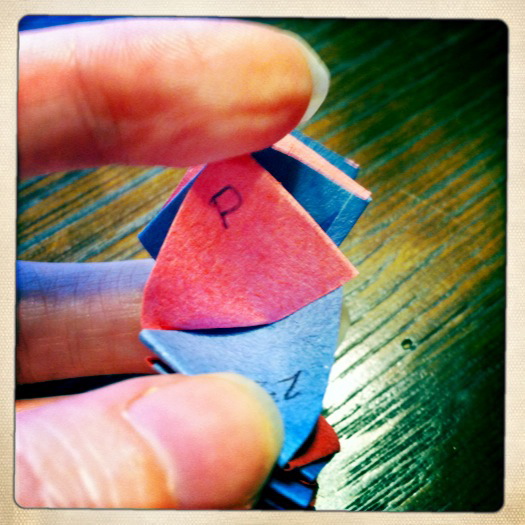
Next, we'll create our own Code Snake! You'll need two colored strips of paper 3/4" x 18" (I glued construction paper strips together to make them long enough), and a pen. Fold your paper together accordion style.
Write the alphabet on one color and numbers (or symbols if you're feeling adventurous) on the other.
To encode your message, look for the letter you need.
And write down the number instead! You can decode the same way.
Keep this in your secret agent kit, along with a wax crayon for invisible messages. Just write your message out on a piece of paper. (We saved our crayon from our Easter egg dying kit.) Then use a little water and finger paints to reveal the secret message!
Special Agent E, you ARE a great secret agent!
All of these activities can be found in:
Usborne Book of Secret Codes by Diana Riddel
This book has it all, including the pigpen cypher we did yesterday. The pages are full-color, graphic-style and explain codes and ciphers in simple terms. The back of the book contains a fun game older children will enjoy playing, and I think could easily be adapted for a secret agent-themed birthday party. It's not for small children, but I think it'd make a great addition to your library. Use it now to introduce codes and let your kids enjoy it years later on their own!
Tape the end of the paper at a slant onto the pencil. Wind the paper around the pencil, then write your message across the paper.
Unravel and give to your partner.
Yep. It looks like gibberish. That is, until you wrap it back around a pencil!
Now it's all clear! "You're the best!"
Next, we'll create our own Code Snake! You'll need two colored strips of paper 3/4" x 18" (I glued construction paper strips together to make them long enough), and a pen. Fold your paper together accordion style.
Write the alphabet on one color and numbers (or symbols if you're feeling adventurous) on the other.
To encode your message, look for the letter you need.
And write down the number instead! You can decode the same way.
Keep this in your secret agent kit, along with a wax crayon for invisible messages. Just write your message out on a piece of paper. (We saved our crayon from our Easter egg dying kit.) Then use a little water and finger paints to reveal the secret message!
Special Agent E, you ARE a great secret agent!
All of these activities can be found in:
Usborne Book of Secret Codes by Diana Riddel
This book has it all, including the pigpen cypher we did yesterday. The pages are full-color, graphic-style and explain codes and ciphers in simple terms. The back of the book contains a fun game older children will enjoy playing, and I think could easily be adapted for a secret agent-themed birthday party. It's not for small children, but I think it'd make a great addition to your library. Use it now to introduce codes and let your kids enjoy it years later on their own!
July 28, 2010
Get your kids to love figs!
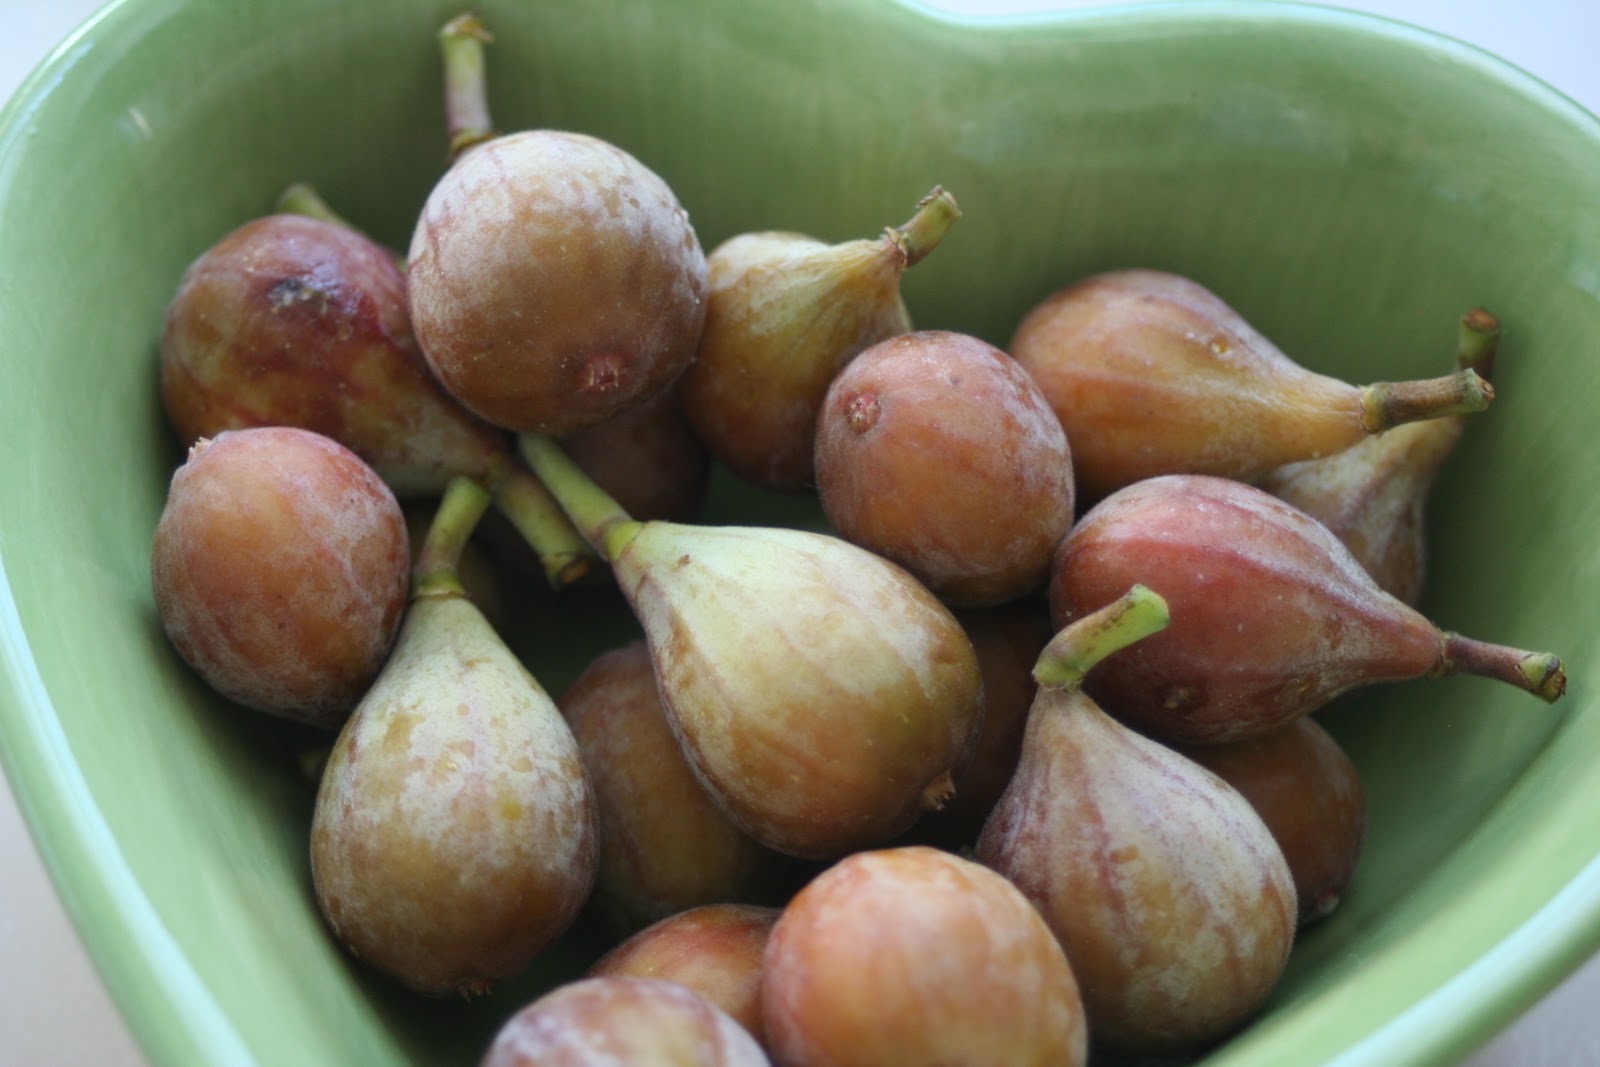
Our friends who moved left behind a huge fig tree in their backyard. Not wanting fresh fruit to go to waste, we dropped by their old house to help ourselves to the bounty. E and A had a great time picking the figs, but when it came time to eat them.... Honestly, you'd think I was offering them mouse brains.
If there's one thing my girls will eat, it's cookies. So out came the baking supplies, and in went the cookies! They disappeared at an alarming rate into my girls' mouths.
When I brought what was left to Bible study, those ladies gobbled them up just as fast! (You know you love me, Michelle!)
So what was this magical, fig-transformative recipe?
Fresh Fig Cookies
adapted from Allrecipes
Ingredients
1/2 cup white sugar
1/2 cup brown sugar
1/2 cup butter
1 egg
2 cups all-purpose flour
1 teaspoon baking soda
1 teaspoon baking powder
1/2 teaspoon salt
1/4 teaspoon ground cloves
1/4 teaspoon ground cinnamon
1 cup chopped fresh figs
1/2 cup chopped pecans
1/2 cup brown sugar
1/2 cup butter
1 egg
2 cups all-purpose flour
1 teaspoon baking soda
1 teaspoon baking powder
1/2 teaspoon salt
1/4 teaspoon ground cloves
1/4 teaspoon ground cinnamon
1 cup chopped fresh figs
1/2 cup chopped pecans
Directions
1. Preheat oven to 350 degrees.
2. Cream sugar and butter. Add the beaten egg.
3. Add dry ingredients to the creamed mixture.
4. Fold in figs and nuts.
5. Drop by spoonfuls on baking sheet. Bake for 10 minutes.
Enjoy!
The Sweetest Fig
The story follows a fussy French dentist who is given two "magic" figs as payment for pulling a tooth. The old woman who gives them promises they will make his dreams come true. When the dentist wakes up the next day to find the Eiffel tower drooped over, he realizes the woman was telling the truth. With one fig left, he trains himself to dream he is the richest man in the world. It looks like he'll get his wish, until his abused dog beats him to the punch.
The story definitely has dark undertones, but the pictures are mesmerizing, and while I wouldn't recommend this story for little ones, I think older children will enjoy seeing the dentist receive his just desserts.
Subscribe to:
Posts (Atom)